
It’s usually very time-consuming to start a new project because you have to manually add the libs and include directories. And when there’s a lot of them. It’s a headache.
Fortunately CMake has made this a really easy step. You only create the CMakeLists.txt file where your project properties reside and CMake does the rest.
In this tutorial I’ll try to explain how to get up and running in no time with OpenCV and Visual Studio 2010.
First we’ll install OpenCV from the SVN repository and then we’ll create a Visual Studio project with the help of CMake.
A - Installing TortoiseSVN
If you’re unfamiliar with Version Control software you might not know that SVN helps you maintain revisions of your code. It’s like creating multiple backups of your project.
In windows, TortoiseSVN is the default utility for SVN. To install it :
- Go to TortoiseSVN downloads site and choose the right version for you.
- Follow the Installer instructions.
B - Installing CMake
- Grab the CMake Windows Installer.
- Follow the Installer instructions.
I - Grabbing the latest version of OpenCV from SVN
A simple way of doing this, based on the official Installation Guide :
- Go to the Folder where you want to download the sources. i ex. “C:\Libs”.
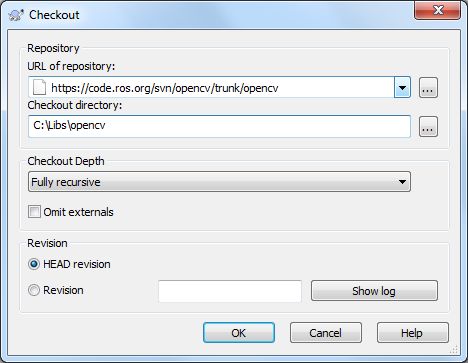
- Right click and choose “SVN checkout” from the Context Menu.
- Fill in the URL : “https://code.ros.org/svn/opencv/trunk".
- Choose your checkout directory, for instance “C:\Libs\opencv”.
- Click OK. It should start downloading the sources.
II - Creating the config files with CMake
CMake will create the necessary files to build the OpenCV sources with your favorite compiler. In our case, we’ll be using Visual Studio 2010 :
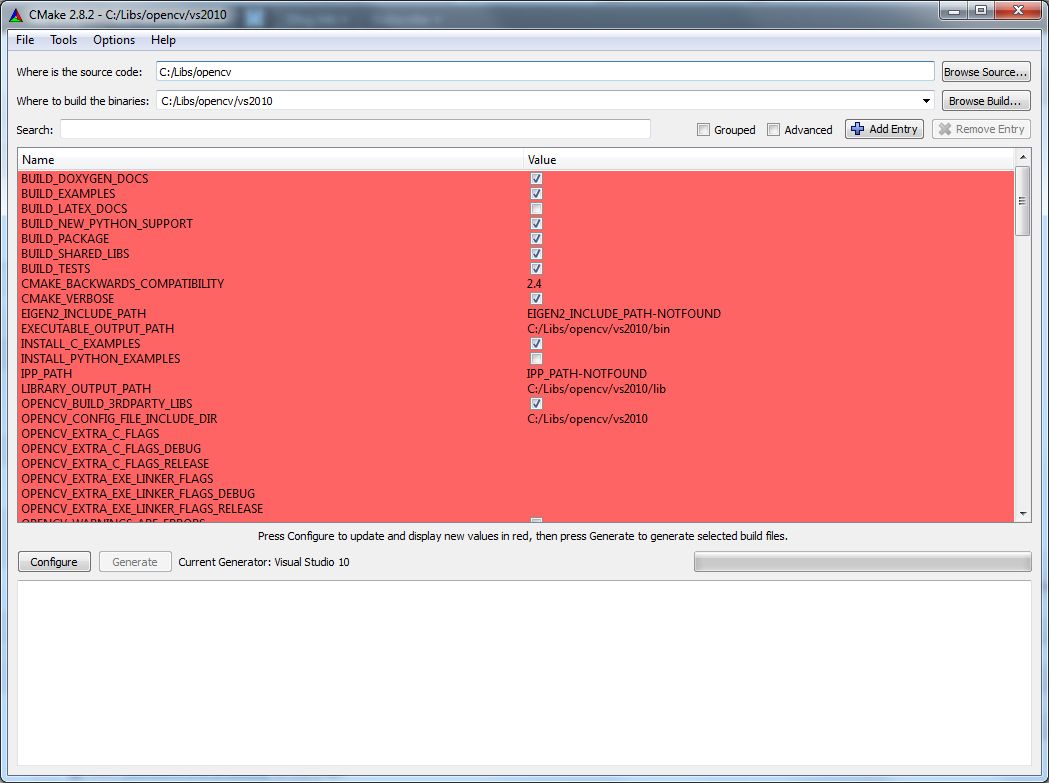
- Open CMake (cmake-gui).
- Choose the source code path ( Where you downloaded OpenCV ). i. ex. “C:\Libs\opencv”
- Choose the output directory ( Where to build the binaries ). i ex. “C:\Libs\opencv\vs2010”. Click Yes to create the directory if doesn’t exist.
- Click on the Configure button.
- Choose the compiler/IDE you want to use. In this case, choose Visual Studio 10. And leave the default native compiler active unless you have a reason not to.
- Choose the options you want to use. Such as Build Examples, build doxygen docs, etc.
- Click on the Configure button until all the conflicts are resolved ( all red lines change their color to white).
- Click Generate.
III - Building OpenCV
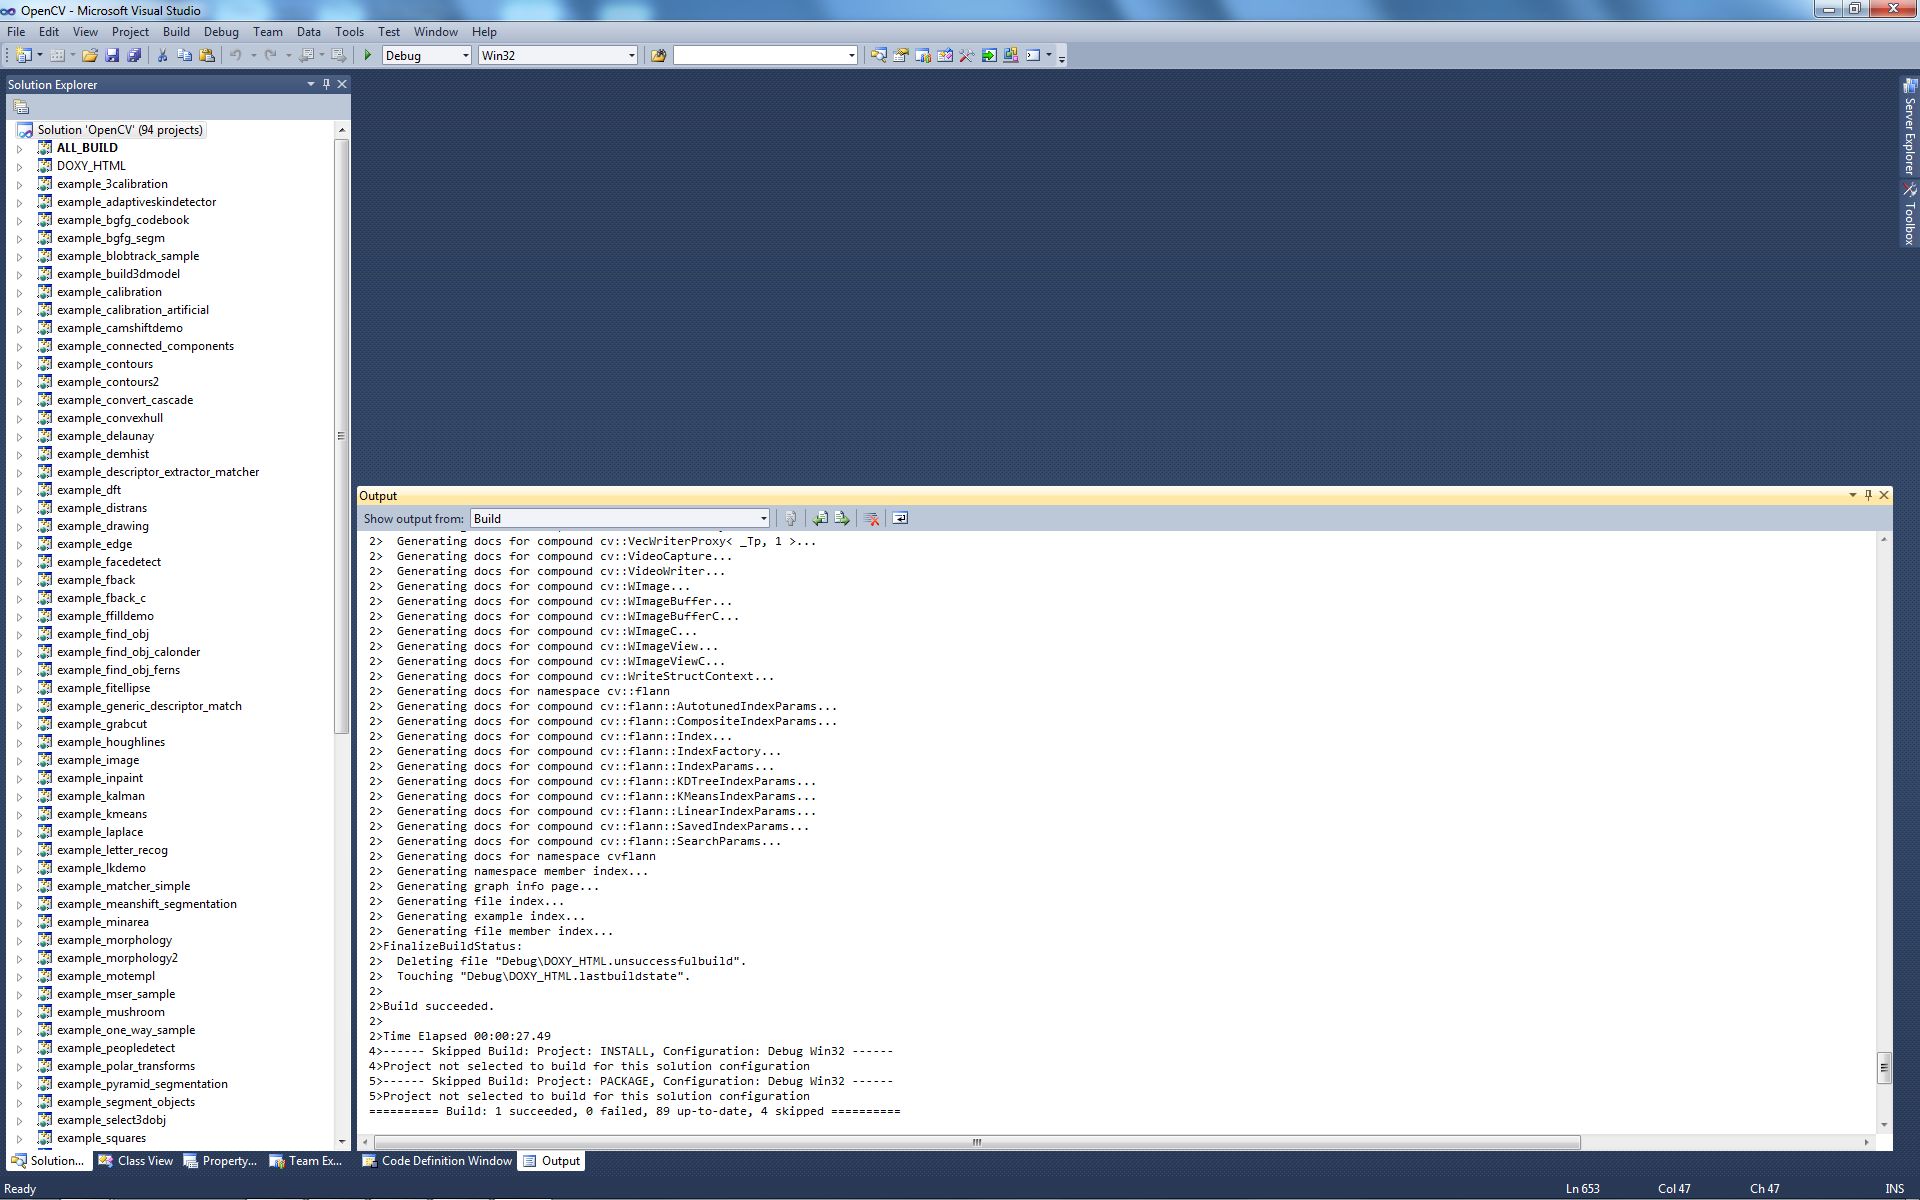
We’ll now proceed to build openCV with Visual Studio 2010.
- Open the Solution file located in the binaries directory. i. ex. “C:\Libs\opencv\vs2010\OpenCV.sln”
- Wait until all the files are completely loaded.
- Press F7 to build the Solution.
- That’s it ;).
IV - Creating a Project for Visual Studio
The following instructions are based on the OpenCV page Getting Started.
- Create a directory for your project. i. ex. “C:\Projects\myFirstOpenCvTest”
- Add the following C++ file to the directory. Name it “main.cpp” :
#include <cv.h>
#include <highgui.h>

int main ( int argc, char **argv )
{
// Create a window to show the image
cvNamedWindow( "My Cool Window" );
IplImage *img = cvCreateImage( cvSize( 300, 100 ), IPL_DEPTH_8U, 3 );

double hScale = 1.0;
double vScale = 1.0;
double shear  = 0.0;
int lineWidth = 2;

// Initialize the font
CvFont font;
cvInitFont( &font, CV_FONT_HERSHEY_SCRIPT_COMPLEX, hScale, vScale, shear, lineWidth );

// Write on the image ...
CvScalar color = CV_RGB( 0, 51, 102 );
cvPutText( img, "Hello World!", cvPoint( 60, 60 ), &font, color );

// ... and show it to the world !
cvShowImage( "My Cool Window", img );

// Wait until the user wants to exit
cvWaitKey();

return 0;
}
3.Create the “CMakeLists.txt” file, don’t forget to use the real name of your project :
SET( PROJECT_NAME project_name_goes_here )
PROJECT( ${PROJECT_NAME} )
CMAKE_MINIMUM_REQUIRED(VERSION 2.8)
FIND_PACKAGE( OpenCV REQUIRED )
ADD_EXECUTABLE( ${PROJECT_NAME} main.cpp )
TARGET_LINK_LIBRARIES( ${PROJECT_NAME} ${OpenCV_LIBS} )
4.And let the magic of CMake do its trick :
- Open CMake and choose as the source directory the directory where you have the main.cpp and the CMakeLists.txt file.
- Follow the same steps as in II (Creating the config files with CMake).
V - Testing your project
- Open the Solution file of your project, located in the vs2010 directory.
- Press F7 to build it.
- In the Solution Explorer, right-click the name of your project/ Debug / Start new instance.
You should see your Hello World text appear.
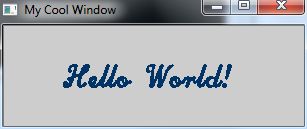
You now have a fully configured VS2010 - OpenCV project.
A piece of cake, wasn’t it ?
As a matter of fact. This procedure can easily be translated to almost any ide/compiler.
Questions and remarks are appreciated.
