
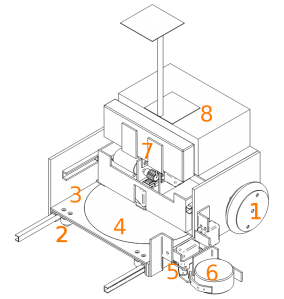
Parki is composed of two motorized wheels (1) in the back and two ball casters (2) in the front. The main platform (3), where all wheels and balls resides has a rotating plate (4) made of aluminium. In the left there is a small arm (5) that turns 180° which has pliers (6) in its end. Above all these, we have a small single-axed arm (7) that goes up and down. Finally we added two upper plastic levels (8) to place the electronic circuits. The pliers enables parki to take the disks one by one and put them in colons above the moving plate while the small arm (7) places the brick above the construction columns.
An image that explains the robot parts.
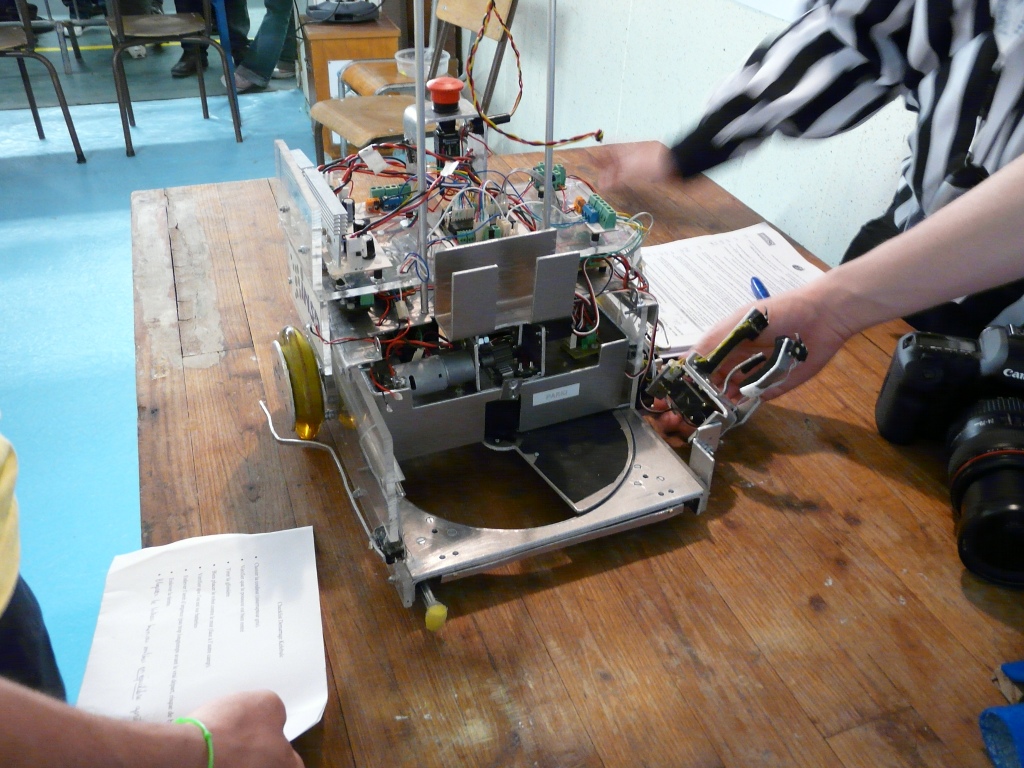
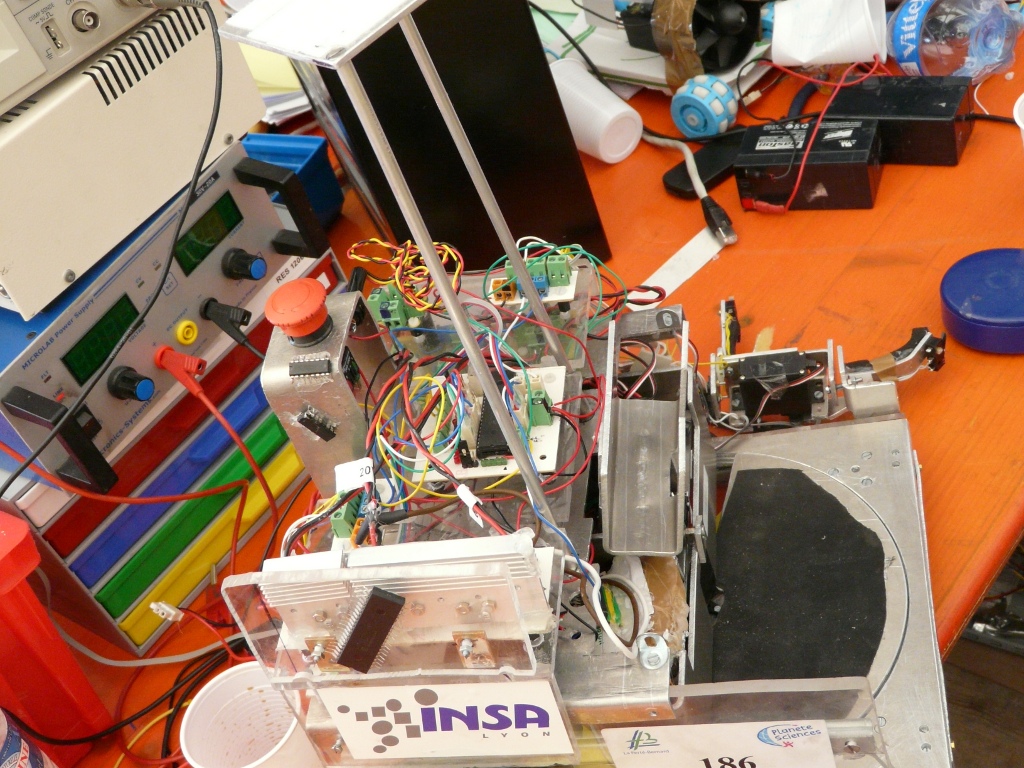
And the real robot : :P
How we build a temple:
We developed three different techniques, depending the colour and position of the column elements. But they all have the same principle.
We place the robot pliers side by side with a column element. We close the pliers and we raise the arm and take the disk above the plate. We release it by opening the pliers and we repeat the process one more time. Once we have two disks in a column we turn the plate and we repeat the process of adding a column. Once we have the two columns in place, we take down the brick and voilà! we have a temple inside the robot.
A video that shows this principle. PS : the turning plate was not working well by the time… ^^
But wait, we still have to take it out to make points don’t we?
To do so, we have developed a structure that literally pushes the temple out. So when we are in front of the construction zone 2, we just push it out and we get 22 points. Yeah!
Let’s watch a full video showing a full construction procedure :
In order to make some more points we have several strategies that either push construction elements from the floor to the construction zone 1, or take them up from the floor to build a temple, or going the distribution center if needed.
Next post: Parki’s electronics.